Troubleshooting methods for drive shaft vibration
Diagnostic Methods for Drive Shaft Vibration Issues
Drive shaft vibrations represent a critical mechanical concern requiring systematic diagnosis to prevent component failure and ensure vehicle safety. The following structured approach identifies root causes and verification procedures for drive shaft-related vibrations.
Initial Visual and Physical Inspection
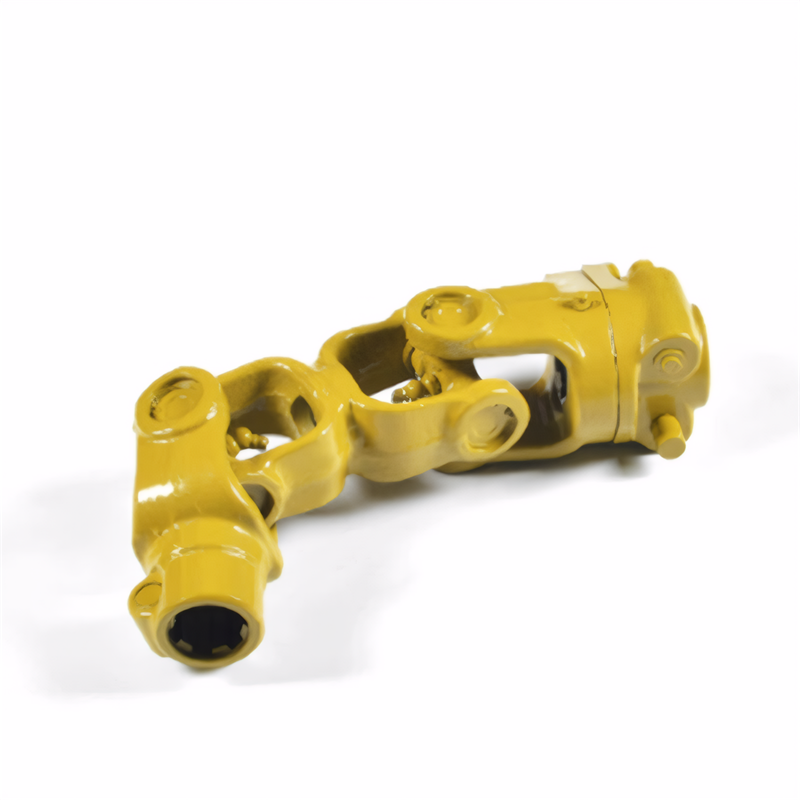
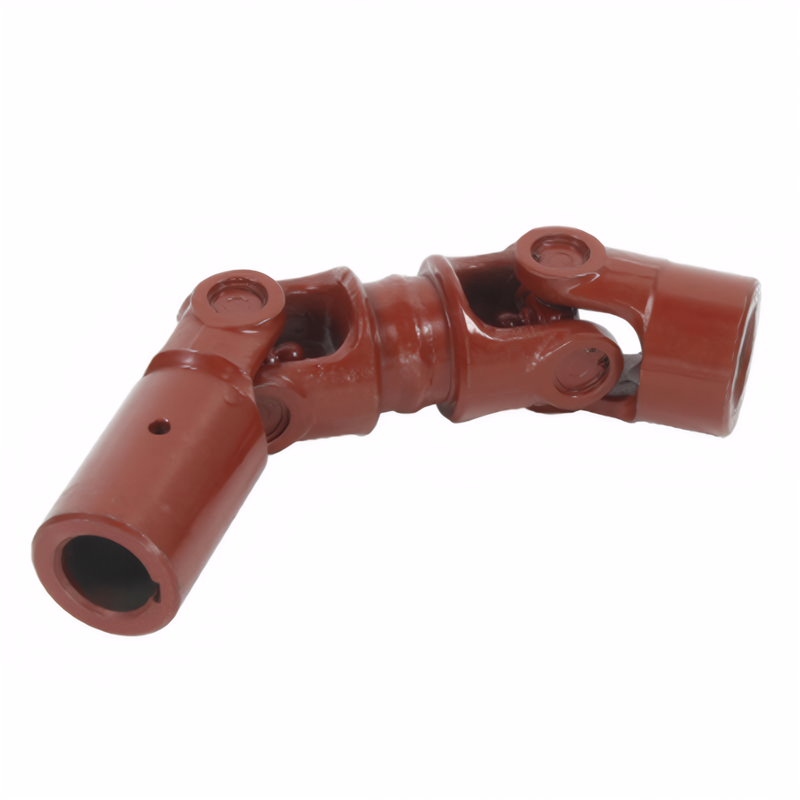
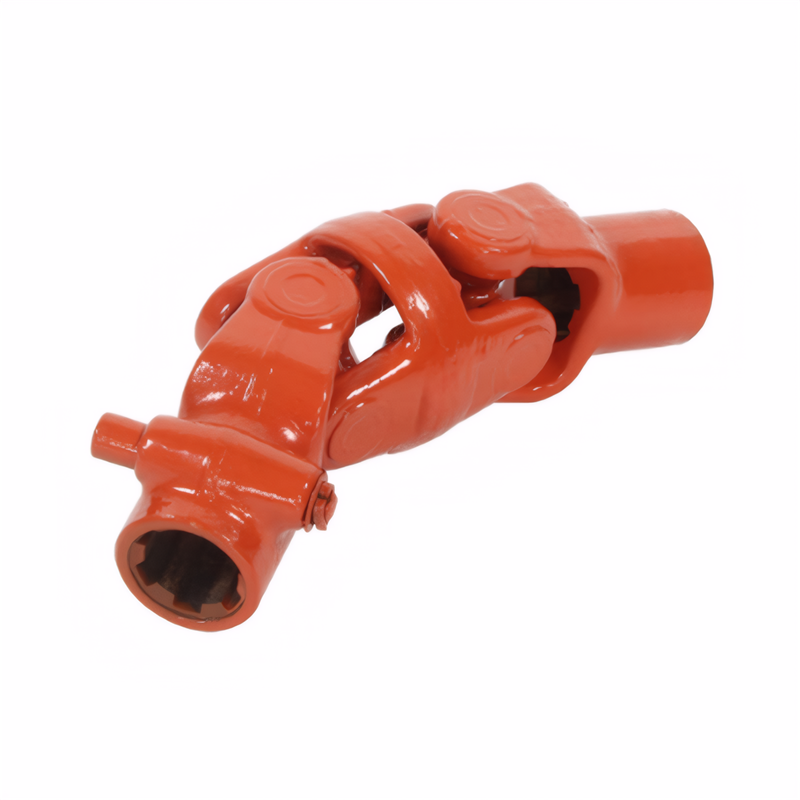
Begin with a comprehensive visual assessment of the drive shaft assembly. Check for obvious signs of damage including bent sections, dents, or corrosion on the shaft body. Examine universal joints for excessive play by manually rotating the yokes - any noticeable looseness indicates worn bearings requiring replacement.
Key Inspection Points
- Connection integrity: Verify all bolts at flanges, intermediate bearings, and differential mounts remain properly tightened to manufacturer specifications.
- Balance weight verification: Confirm counterweights remain securely attached in their designated positions.
- Spline engagement: Inspect the telescopic section's splines for wear patterns or debris accumulation that could disrupt smooth length adjustment.
This preliminary examination often reveals obvious issues like loose components or physical damage that explain vibration symptoms.
Dynamic Testing During Vehicle Operation
Proceed to road testing under controlled conditions to characterize vibration behavior. Pay attention to three critical parameters:
Vibration Characterization Parameters
- Speed correlation: Note whether vibrations intensify at specific speed ranges, particularly between 40-60 km/h where resonance phenomena commonly occur.
- Load sensitivity: Determine if vibrations change when accelerating, decelerating, or applying partial throttle, indicating torque-related issues.
- Directional dependence: Assess whether steering inputs affect vibration intensity, which may suggest universal joint misalignment or suspension interaction problems.
Document any abnormal noises accompanying vibrations, as clicking sounds often point to worn universal joints while grinding noises may indicate bearing failures.
Precision Measurement Techniques
For persistent vibration issues, employ specialized diagnostic equipment:
Advanced Diagnostic Procedures
- Runout measurement: Use dial indicators to quantify radial and axial runout at drive shaft ends. Excessive runout exceeding 0.5mm typically requires shaft replacement.
- Dynamic balancing: Perform on-vehicle balancing using portable equipment or remove the shaft for machine balancing to eliminate mass distribution irregularities.
- Angle analysis: Verify universal joint operating angles remain within 3 degrees of each other using inclinometers, as significant angle mismatches create velocity fluctuations.
These measurements provide quantitative data to confirm suspected imbalance or misalignment issues.
Component-Specific Troubleshooting
Isolate the vibration source through systematic component evaluation:
Differential Diagnosis Approach
- Universal joint inspection: Disassemble joints to check for needle bearing pitting, yoke wear, or lubricant contamination. Replace any joint showing signs of fatigue.
- Intermediate bearing analysis: Verify bearing rotation smoothness and check for play in the mounting bracket. Worn bearings often produce growling noises.
- Transmission/differential check: Inspect output flanges for runout and verify mounting surfaces remain perpendicular to shaft axes.
This component-focused examination helps differentiate between drive shaft issues and problems originating in connected drivetrain components.
 The inspection method for the
 Symptoms of wear of the univer
 Analysis of the Causes of Abno
 The ability of the drive shaft
 简体中文
简体中文 English
