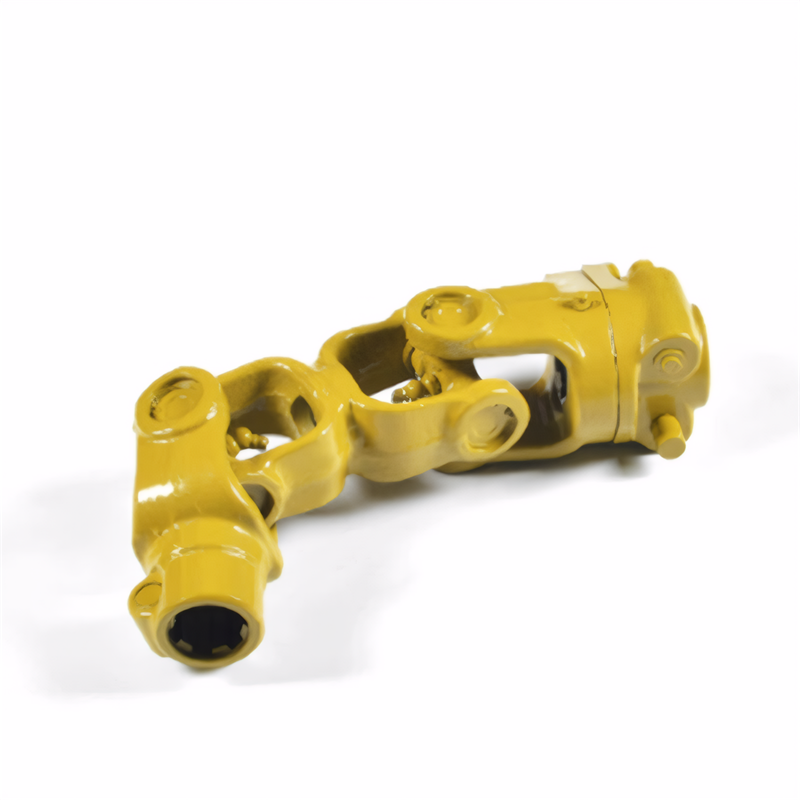
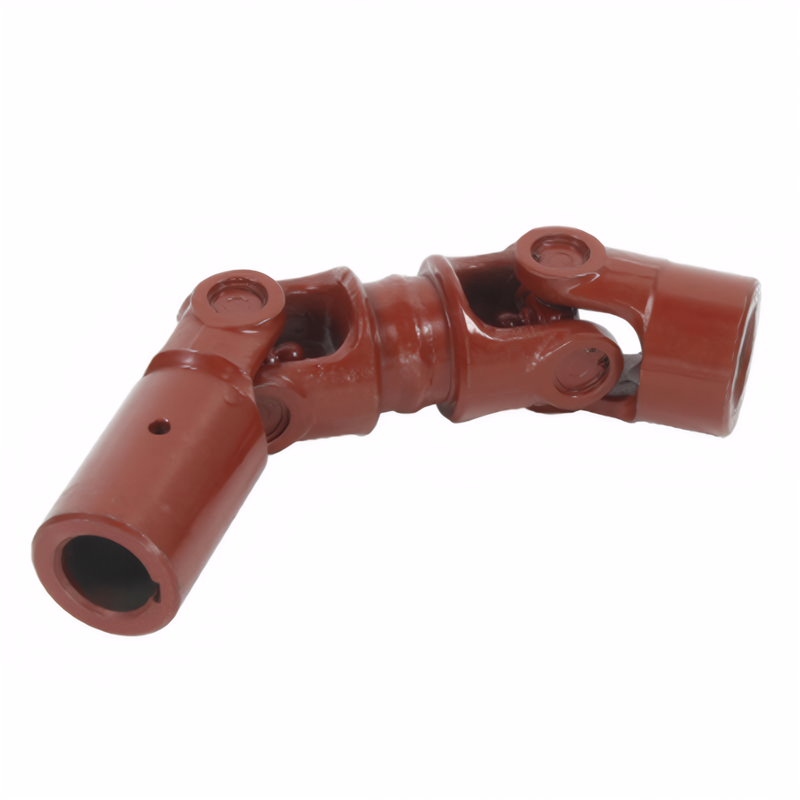
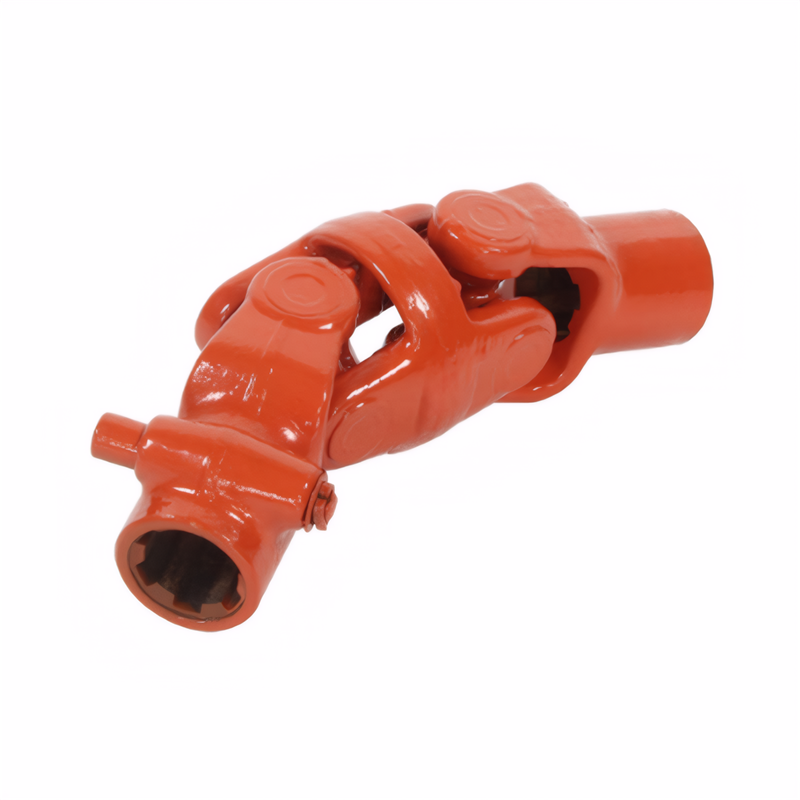
Key points for reinstalling the drive shaft
Essential Points for Reinstalling a Transmission Shaft
Pre - Installation Preparation
Cleaning and Inspection of Components
Before starting the reinstallation of the transmission shaft, a thorough cleaning of all related components is a must. Use a suitable degreaser to remove any accumulated dirt, old grease, and debris from the transmission shaft, universal joints, flanges, and the mating surfaces on the transmission and differential. This cleaning process not only ensures a proper fit but also helps in identifying any hidden damage or wear.
After cleaning, conduct a detailed inspection. Check the transmission shaft for any signs of cracks, bends, or excessive wear on the splines. Examine the universal joints for play, which could indicate worn - out bearings or damaged cross - members. Inspect the flanges for flatness and any signs of corrosion or damage to the bolt holes. If any component is found to be damaged beyond repair, it should be replaced before proceeding with the reinstallation.
Lubrication of Parts
Proper lubrication is crucial for the smooth operation and longevity of the transmission shaft and its associated components. Apply a high - quality grease to the universal joints, ensuring that the grease fills the bearing cavities completely. This reduces friction and wear, preventing premature failure of the joints.
Lubricate the splines on the transmission shaft and the corresponding splines on the flanges. A thin layer of grease helps in easy engagement and disengagement of the splines during installation and future operation. Additionally, apply a small amount of grease to the bolt threads to prevent corrosion and make it easier to tighten and loosen the bolts in the future.
Alignment and Positioning During Installation
Matching Positioning Marks
During the initial disassembly, if positioning marks were made on the transmission shaft and its mating components, these marks must be carefully matched during reinstallation. These marks serve as a guide to ensure that the shaft is installed in the correct orientation and position relative to the transmission and differential.
Align the marks on the transmission shaft with the corresponding marks on the transmission output flange and the differential input flange. This precise alignment is essential for the proper transfer of power and to avoid issues such as vibration, noise, and premature wear of the components. If the original positioning marks are not clear or have been removed, refer to the vehicle's service manual for the correct alignment specifications.
Ensuring Proper Angular Alignment
In addition to matching the positioning marks, it's important to ensure proper angular alignment of the transmission shaft. The shaft should be installed at the correct angle to the transmission and differential to prevent excessive stress on the universal joints and other components.
Use a straightedge or a specialized alignment tool to check the angular alignment. The tool can be placed against the flanges on the transmission and differential, and the transmission shaft should be adjusted until it is in line with the tool. Improper angular alignment can lead to uneven wear of the universal joints and may cause the shaft to vibrate excessively during operation.
Tightening and Final Checks
Proper Torque Specification for Bolts
When reinstalling the bolts that secure the transmission shaft to the transmission and differential flanges, it's crucial to follow the manufacturer's recommended torque specifications. Under - tightening the bolts can lead to loosening during operation, which can cause damage to the components and potentially result in the shaft coming loose from its mounting points.
Over - tightening, on the other hand, can strip the bolt threads or damage the flanges. Use a torque wrench to tighten the bolts to the specified torque value in the correct sequence. The sequence is usually provided in the vehicle's service manual and is designed to ensure even distribution of pressure across the flanges.
Conducting a Functional Test
After the transmission shaft is fully installed and all bolts are tightened, a functional test should be conducted. Start the vehicle and let it idle for a few minutes. Listen for any unusual noises, such as knocking, clunking, or grinding, which could indicate a problem with the installation, such as misalignment or loose components.
Take the vehicle for a short test drive, gradually increasing the speed. Pay attention to any vibrations or abnormal handling. If any issues are detected during the test, stop the vehicle immediately and re - inspect the installation. Check the bolt tightness, alignment, and the condition of the components to identify and rectify the problem before further use of the vehicle.
 Method for detecting the stabi
 Reliability testing standard f
 Certification of environmental
 Transmission shaft safety perf
 简体中文
简体中文 English
