Precautions for disassembling the drive shaft
Key Considerations When Removing a Transmission Shaft
Pre - Disassembly Preparation
Gather Necessary Tools and Equipment
Before starting the process of removing a transmission shaft, it's crucial to assemble all the required tools. This includes a set of wrenches of various sizes to handle different bolts and nuts on the shaft and its associated components. Socket sets are also essential for reaching bolts in tight spaces. Additionally, having a pry bar can be helpful for gently separating parts that are stuck together due to rust or grease buildup. A torque wrench is important for ensuring that bolts are removed with the correct amount of force, preventing damage to the threads.
It's also advisable to have a container or a designated area to place the removed parts. This helps in keeping track of all the components and prevents them from getting lost or mixed up. Moreover, having some rags or shop towels on hand is useful for wiping away dirt, grease, and any spilled fluids during the disassembly process.
Safety Precautions
Safety should always be the top priority when working on a vehicle's transmission shaft. First, make sure the vehicle is parked on a level surface and the parking brake is engaged firmly. This prevents the vehicle from moving unexpectedly during the disassembly. If possible, use wheel chocks to further secure the wheels.
Wear appropriate personal protective equipment, such as safety glasses to protect your eyes from flying debris, and gloves to shield your hands from sharp edges and hot components. Since there may be some fluids like transmission oil present, wearing old clothes or a work apron can protect your regular clothing from stains. Also, ensure that the engine is turned off and the key is removed from the ignition to avoid any accidental starting of the vehicle.
Disassembly Process Steps
Identifying and Marking Components
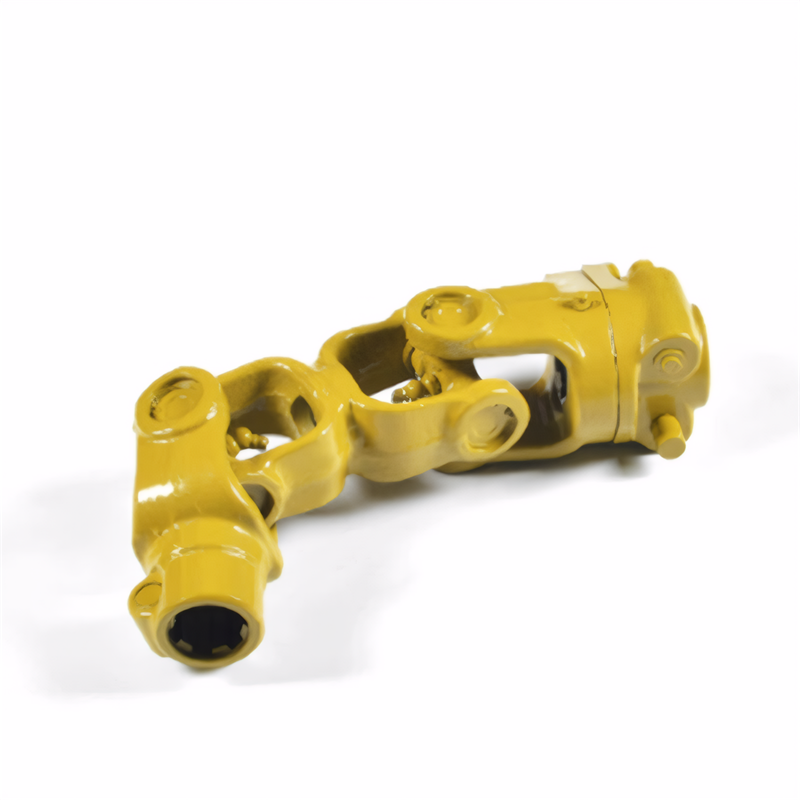
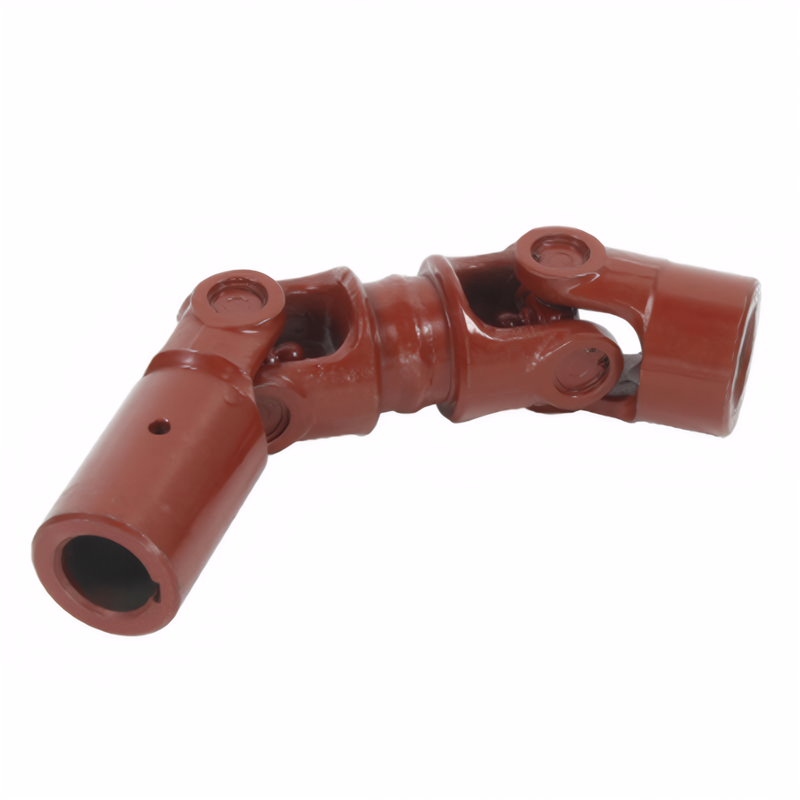
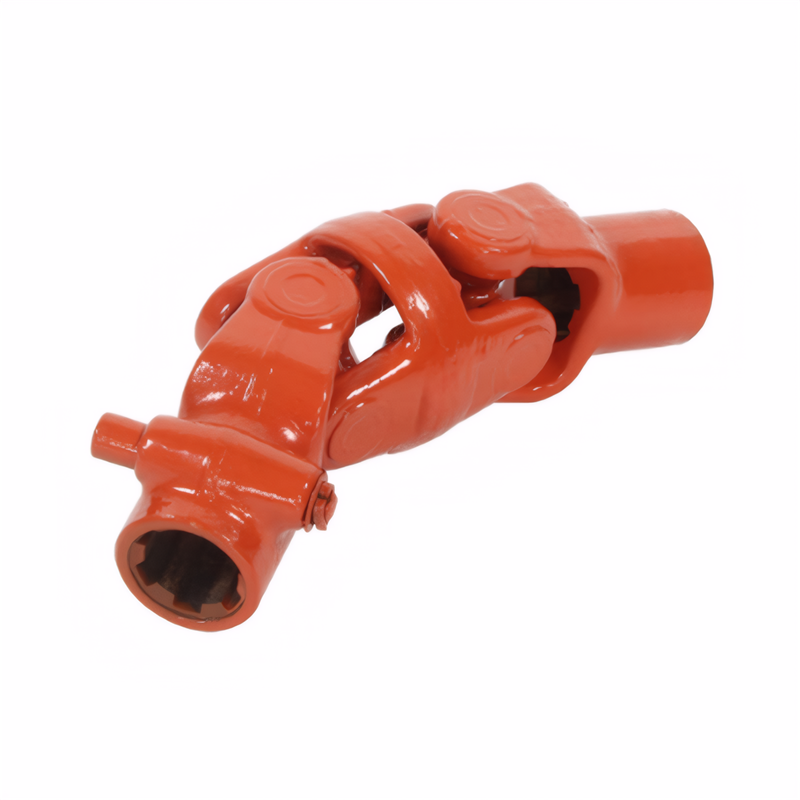
Before removing any parts, it's important to identify and mark the components of the transmission shaft assembly. This includes the shaft itself, universal joints, flanges, and any other attached parts. Use a permanent marker or paint to make clear and visible marks on the components and their corresponding mating surfaces.
Marking the components helps in ensuring proper reassembly later. It prevents confusion about which part goes where, especially when dealing with similar - looking components. For example, if there are multiple universal joints, marking them can help in reinstalling them in the correct orientation, which is crucial for the smooth operation of the transmission shaft.
Removing Bolts and Nuts
Start by locating and removing the bolts and nuts that secure the transmission shaft to the transmission and the differential. Use the appropriate wrench or socket to loosen and remove these fasteners. It's important to apply the right amount of force to avoid stripping the threads. If a bolt is stuck, you can use a penetrating oil and let it sit for a while to loosen the rust or corrosion.
When removing the bolts, be careful not to drop them into hard - to - reach areas of the vehicle's undercarriage. Place them in the container you prepared earlier. Keep track of the order in which the bolts are removed, as this can be helpful during reassembly. Some bolts may have different lengths or thread patterns, so noting their positions can prevent installation errors.
Separating the Transmission Shaft from Adjacent Parts
Once the bolts and nuts are removed, the next step is to separate the transmission shaft from the adjacent parts, such as the transmission output flange and the differential input flange. Use a pry bar or a similar tool to gently pry the shaft away from these components. Be careful not to apply excessive force, as this can damage the flanges or the shaft itself.
If the shaft is stuck due to a tight fit or the presence of old grease, you can use a lubricant to help loosen it. Slowly and steadily work the pry bar around the circumference of the shaft to gradually separate it from the flanges. Once the shaft is free, carefully lift it out of the vehicle, making sure not to hit any other components in the process.
Post - Disassembly Considerations
Inspection of Removed Parts
After the transmission shaft is removed, it's essential to inspect all the removed parts for signs of wear, damage, or corrosion. Check the universal joints for any play or excessive movement, as this indicates that they may need to be replaced. Look for cracks or breaks in the shaft itself, especially around the splines and the areas where the universal joints are attached.
Inspect the flanges for any signs of wear, such as grooves or flat spots. Also, check the condition of the bolts and nuts. If they are rusted, stripped, or damaged in any way, they should be replaced. By conducting a thorough inspection, you can identify any potential problems and address them before reassembling the transmission shaft, ensuring the reliable operation of the vehicle's drivetrain.
Proper Storage of Components
If you're not planning to reassemble the transmission shaft immediately, it's important to store the components properly. Clean the parts to remove any dirt, grease, or old lubricant. You can use a degreaser and a brush for this purpose. After cleaning, dry the parts thoroughly to prevent rust formation.
Store the components in a dry and clean area, away from direct sunlight and extreme temperatures. You can cover the parts with a clean cloth or plastic wrap to protect them from dust and moisture. If possible, store the shaft horizontally to prevent it from bending or warping over time. Proper storage helps in maintaining the condition of the components and makes the reassembly process easier when the time comes.
 Method for detecting the stabi
 Reliability testing standard f
 Certification of environmental
 Transmission shaft safety perf
 简体中文
简体中文 English
