The connection between the drive shaft and the drive axle
Proper Connection Between Driveshaft and Drive Axle: Key Steps and Technical Details
Understanding the Structural Relationship Between Driveshaft and Drive Axle
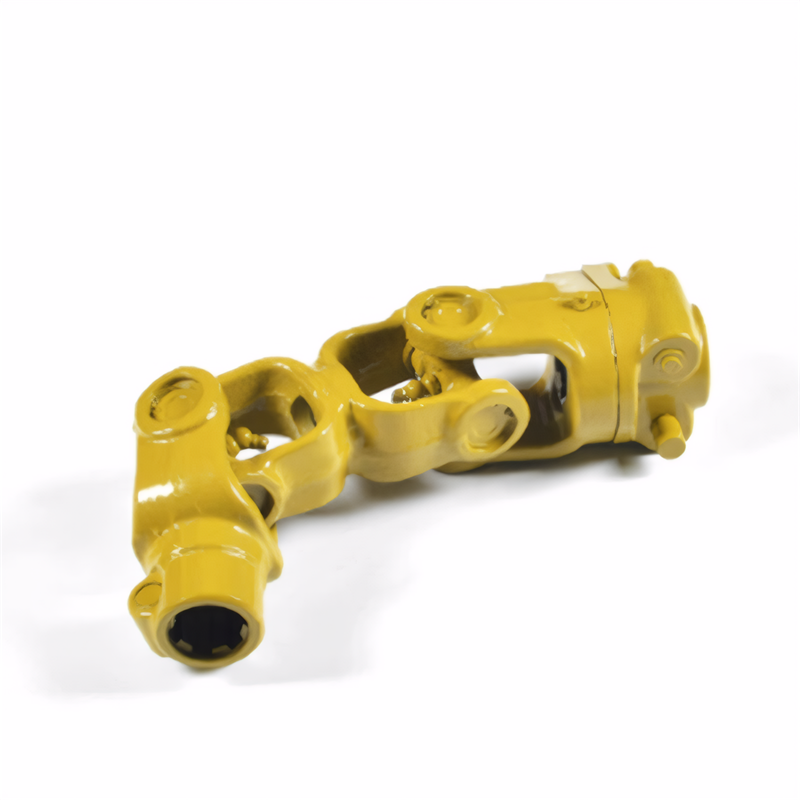
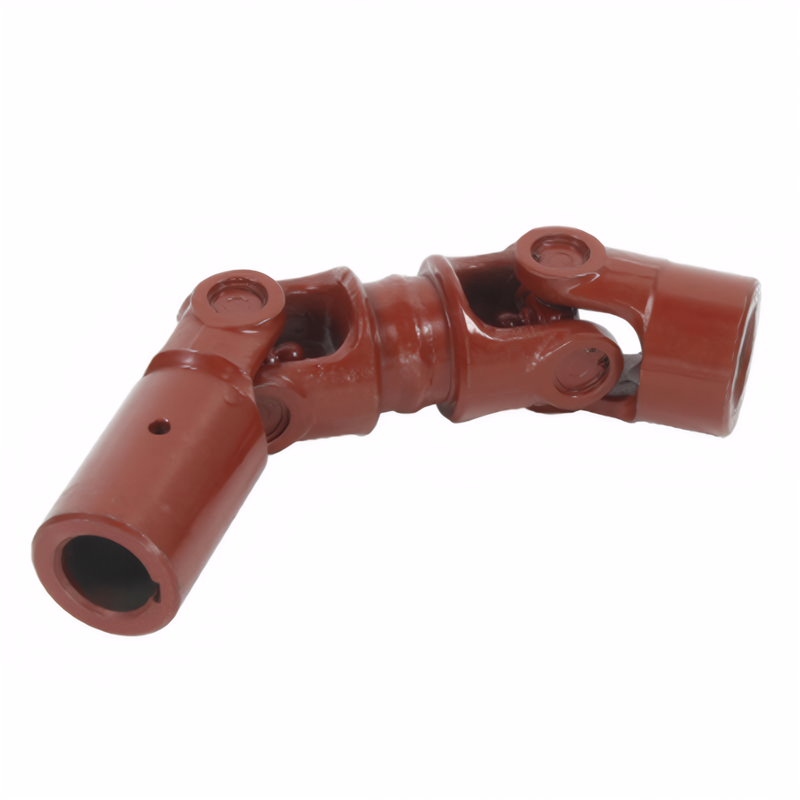
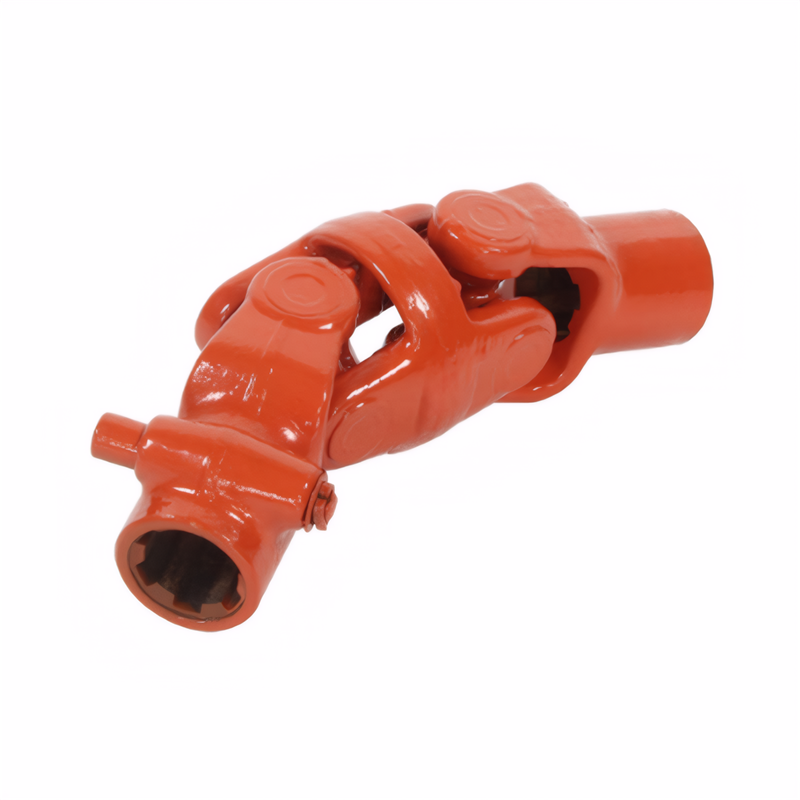
The driveshaft serves as the core component for transmitting rotational power from the transmission to the drive axle. In rear-wheel-drive vehicles, it bridges the gap between the transmission output shaft and the drive axle input shaft, enabling dynamic adjustment of transmission distance and angle during vehicle movement. For example, when a vehicle encounters uneven road surfaces, the suspension system causes the drive axle to move vertically. The driveshaft, equipped with universal joints, compensates for these positional changes while maintaining continuous power transmission.
The drive axle, comprising the differential, half-shafts, and wheel hubs, further distributes power to the wheels. Its input shaft must align precisely with the driveshaft’s terminal end to avoid misalignment-induced vibrations or premature wear. A typical connection involves a splined shaft design, where the driveshaft’s splines interlock with corresponding grooves on the drive axle input shaft, ensuring torque transfer without slippage.
Pre-Installation Checks and Preparations
Inspection of Driveshaft Components
Before installation, visually inspect the driveshaft for cracks, bends, or corrosion. Use a dial indicator to measure radial runout; excessive deviation (typically beyond 0.5mm) indicates deformation requiring replacement. Similarly, examine the universal joints for worn bearings or bent cross shafts. A worn universal joint may produce clicking noises during rotation or exhibit excessive play when manually rocked.
Cleaning and Lubrication
Remove old grease and debris from the driveshaft yoke and drive axle input shaft using a wire brush and solvent. Apply high-temperature grease to the splines and universal joint bearings to reduce friction and prevent corrosion. For vehicles operating in dusty environments, consider using grease with anti-seize properties to extend component lifespan.
Alignment Verification
Use a laser alignment tool or string method to confirm that the transmission output shaft, driveshaft centerline, and drive axle input shaft form a straight line. Misalignment as small as 1 degree can cause vibrations at highway speeds. Adjust the driveshaft length or intermediate support bearing (if equipped) to correct deviations.
Step-by-Step Connection Process
Step 1: Spline Alignment and Initial Insertion
Position the vehicle on level ground and engage the parking brake. Rotate the driveshaft manually to align its splines with those on the drive axle input shaft. Avoid forcing the connection; if resistance occurs, recheck alignment or inspect for debris lodged in the splines. For vehicles with a slip yoke design, ensure the yoke slides freely into the transmission tailshaft housing before connecting to the drive axle.
Step 2: Bolt Fastening and Torque Specification
Once splines are engaged, secure the connection using grade 8.8 or higher bolts. Tighten bolts in a star pattern to distribute clamping force evenly. Refer to the vehicle service manual for exact torque values (e.g., 65–85 N·m for common passenger vehicles). Under-tightening may lead to bolt loosening, while over-tightening can strip threads or deform components.
Step 3: Universal Joint Installation
If replacing universal joints, press new bearings onto the cross shaft using a hydraulic press or bearing installer tool. Ensure bearing caps are seated flush against the yoke ears. Grease the bearings thoroughly and install retaining clips or snap rings to secure them. For constant-velocity joints (CVJs), follow manufacturer guidelines for boot installation to prevent grease leakage and contaminant ingress.
Post-Installation Verification and Adjustment
Functional Testing
Start the engine and shift into neutral. Rotate the driveshaft by hand to check for smooth operation. Listen for grinding or clunking noises, which may indicate misalignment or insufficient lubrication. Gradually accelerate to 40–60 km/h in a safe location and observe for vibrations. Persistent vibrations at specific speeds suggest residual misalignment or an unbalanced driveshaft.
Wheel Alignment and Suspension Check
After connecting the driveshaft, recheck wheel alignment parameters such as toe, camber, and caster. Misalignment can exacerbate vibrations caused by driveshaft issues. Inspect suspension components like control arms and bushings for wear, as loose parts may mimic driveshaft-related problems.
Long-Term Maintenance
Schedule periodic inspections of the driveshaft and drive axle connection. Check for grease leakage around universal joints or CVJ boots. Monitor bolt tightness during routine maintenance intervals, as vibration can gradually loosen fasteners. For vehicles exposed to salt or mud, clean the driveshaft area regularly to prevent corrosion-induced failure.
 Method for detecting the stabi
 Reliability testing standard f
 Certification of environmental
 Transmission shaft safety perf
 简体中文
简体中文 English
