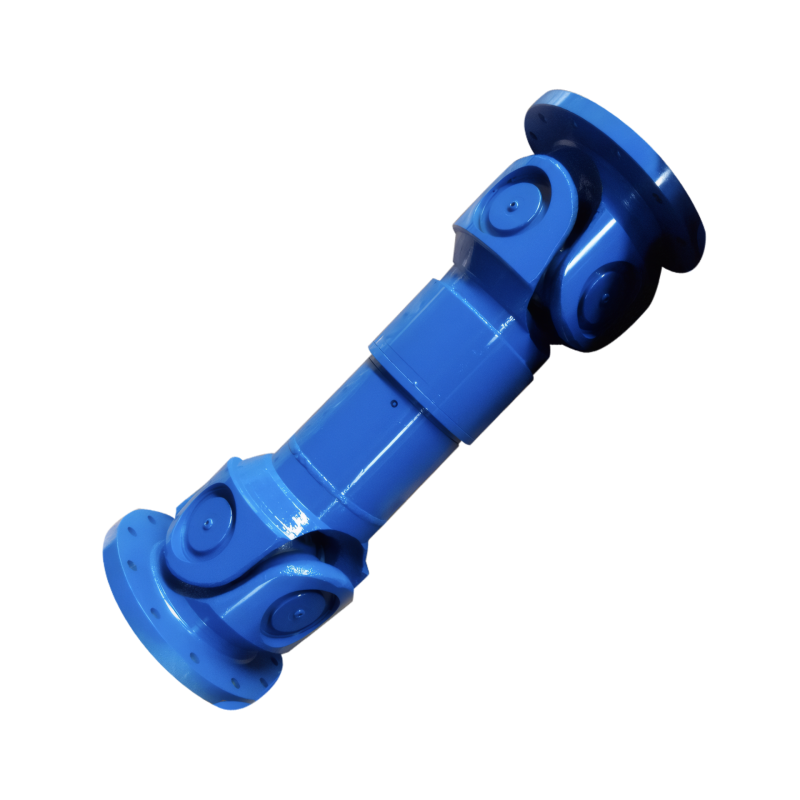
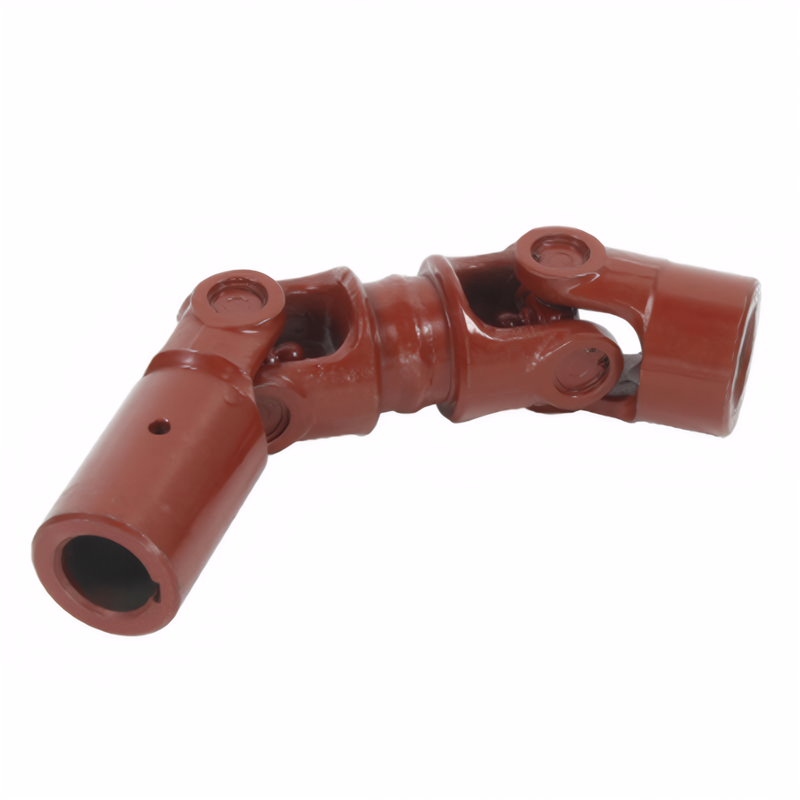
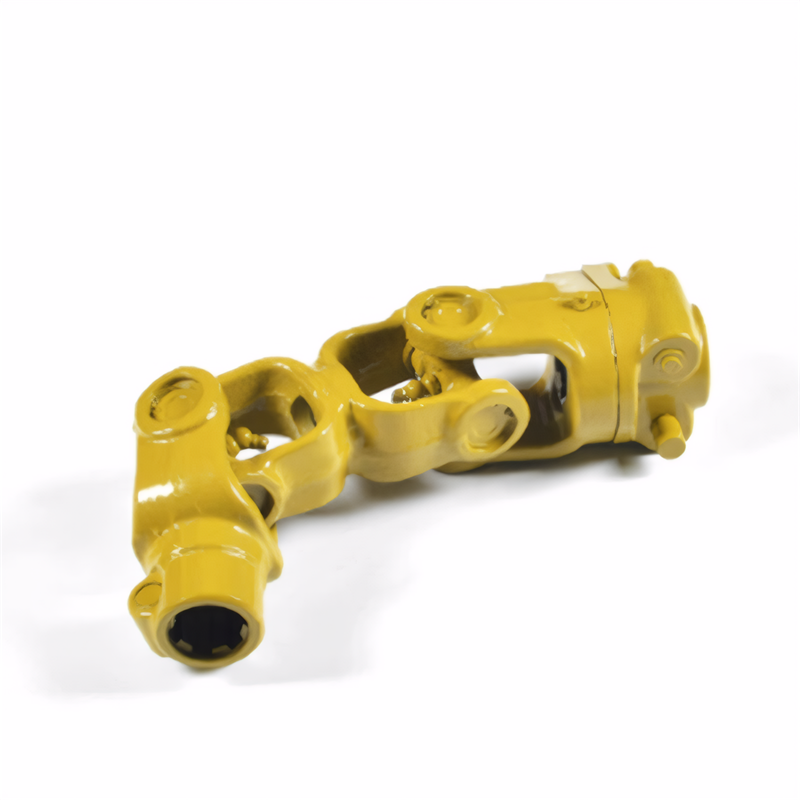
The replacement method of the dust cover for the drive shaft
Views :
Update time : 2025-07-17
Comprehensive Guide to Replacing Transmission Shaft Dust Boots
Preparation and Safety Measures
Essential Tools and Materials
Gather all required tools before starting the replacement process:
- Jack and jack stands for vehicle elevation
- Complete set of metric sockets and wrenches
- Screwdrivers (both flathead and Phillips)
- Needle-nose pliers and wire cutters
- Rubber mallet or dead blow hammer
- Clean rags and shop towels
- High-quality automotive grease
- New dust boot (properly sized for the specific application)
Vehicle Positioning and Safety
Park the vehicle on a flat, level surface and engage the parking brake. For added safety:
- Place wheel chocks behind all four wheels
- Wear safety glasses and gloves throughout the procedure
- Ensure adequate lighting for working underneath the vehicle
- Follow all manufacturer safety guidelines specific to your vehicle model
Step-by-Step Replacement Process
Initial Component Removal
Begin by elevating the vehicle using a hydraulic jack and securing it with jack stands:
- Remove the appropriate wheel(s) to access the transmission shaft
- Locate the dust boot assembly on the transmission shaft
- Identify and remove any retaining clips or bolts securing the boot
- Carefully detach any connected components such as ABS sensors or brake lines
- Use a rubber mallet to gently tap the shaft if components are seized
Dust Boot Extraction Techniques
With components properly exposed:
- Use needle-nose pliers to carefully remove any metal or plastic retaining rings
- If equipped with zip ties, cut them using wire cutters
- Gently twist and pull the old dust boot away from the shaft
- Inspect the shaft for damage or excessive wear during removal
- Clean the shaft thoroughly with a rag and brake cleaner if necessary
- Dispose of the old dust boot according to local regulations
Installation of New Dust Boot
Prepare the new dust boot for installation:
- Apply a thin layer of automotive grease to the inner lip of the boot
- Slide the new boot onto the transmission shaft, ensuring proper orientation
- Align any markings or directional indicators on the boot
- Press the boot firmly into place until it seats completely
- Install new retaining clips or zip ties, ensuring secure attachment
- Reconnect any previously detached components (sensors, lines, etc.)
- Verify all connections are secure before lowering the vehicle
Post-Installation Verification
Functional Testing Procedures
After completing the installation:
- Lower the vehicle carefully using the hydraulic jack
- Start the engine and let it idle for several minutes
- Perform a visual inspection for leaks or improper boot seating
- Test drive the vehicle at low speeds to check for vibrations or noises
- Gradually increase speed to highway levels while monitoring performance
- Pay attention to any unusual sounds from the drivetrain area
- Recheck all connections after the test drive
Long-Term Maintenance Considerations
To ensure optimal performance:
- Schedule regular inspections of the dust boot every oil change interval
- Look for signs of cracking, tearing, or grease leakage
- Check retaining clips for tightness and proper seating
- Monitor the area for dirt or debris accumulation
- Replace the dust boot immediately if any damage is detected
- Consider proactive replacement if the vehicle operates in harsh conditions
- Keep a record of all maintenance performed on the drivetrain components
Related News
Read More >>
 Customized design of drive shafts for special vehicles
08 .05.2025
Special-purpose vehicles often require customized drive shaft configurations due to unique chassis modifications and load distribution demands. For instance, fire trucks with elevated platforms necess...
 The durability of the drive shaft for off-road vehicles
08 .05.2025
Off-road vehicle drive shafts require specialized structural designs to withstand extreme operating conditions. The typical tubular construction combines high-strength alloy steel with precise wall th...
 Introduction to the structural strength of truck drive shaft
08 .05.2025
Truck drive shafts primarily consist of three core components: the shaft tube, telescopic sleeve, and universal joints. The shaft tube serves as the main structural element, typically manufactured fro...
 The layout of the drive shaft for a four-wheel drive vehicle
08 .04.2025
The transmission shaft layout in 4WD vehicles primarily depends on the engine and drivetrain positioning. Common configurations include longitudinal front-engine rear-wheel drive (FR) converted to 4WD...
 简体中文
简体中文 English
