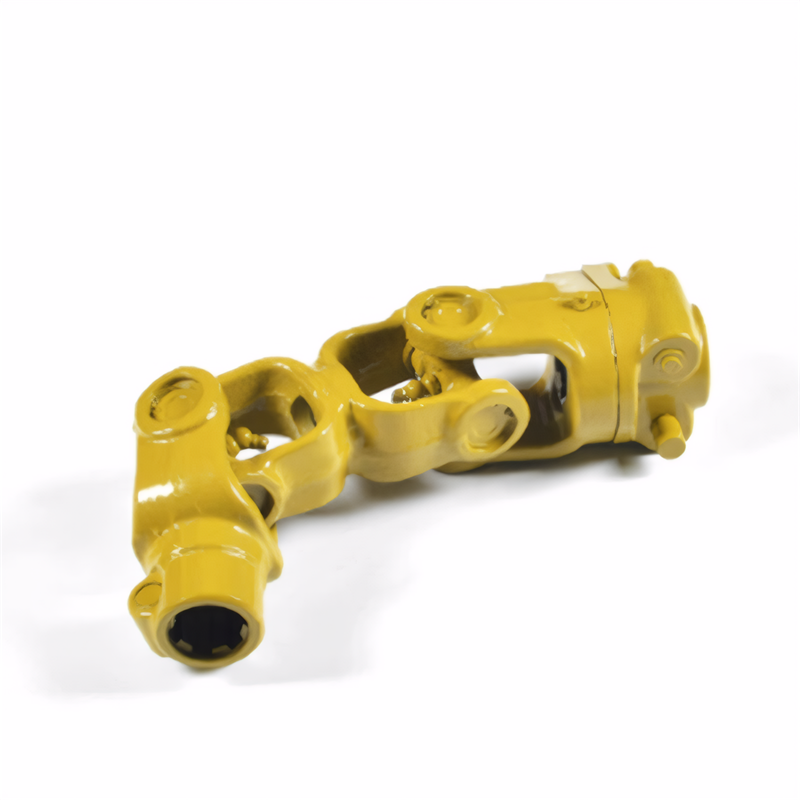
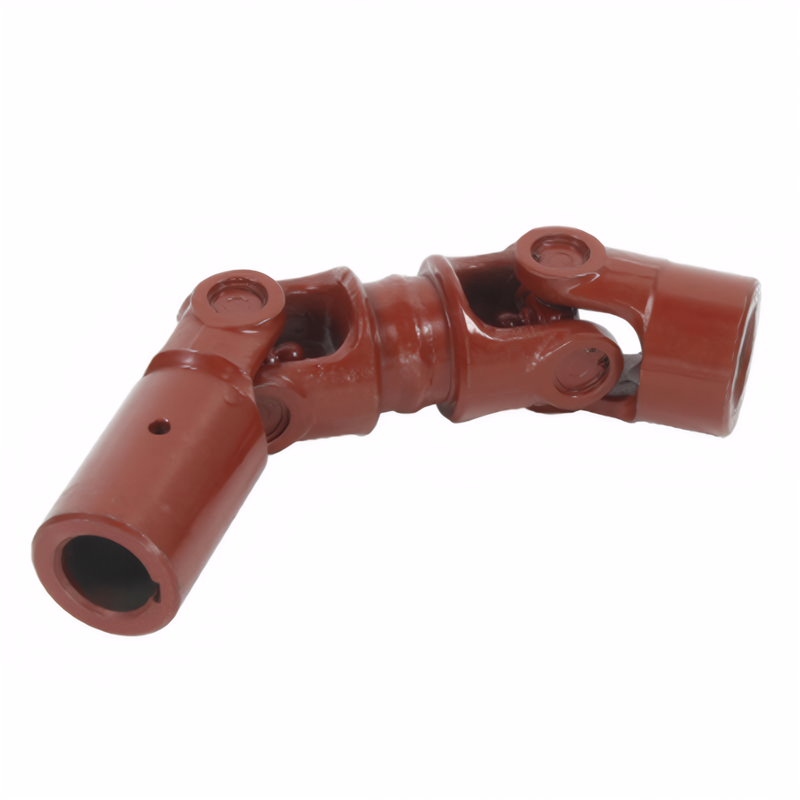
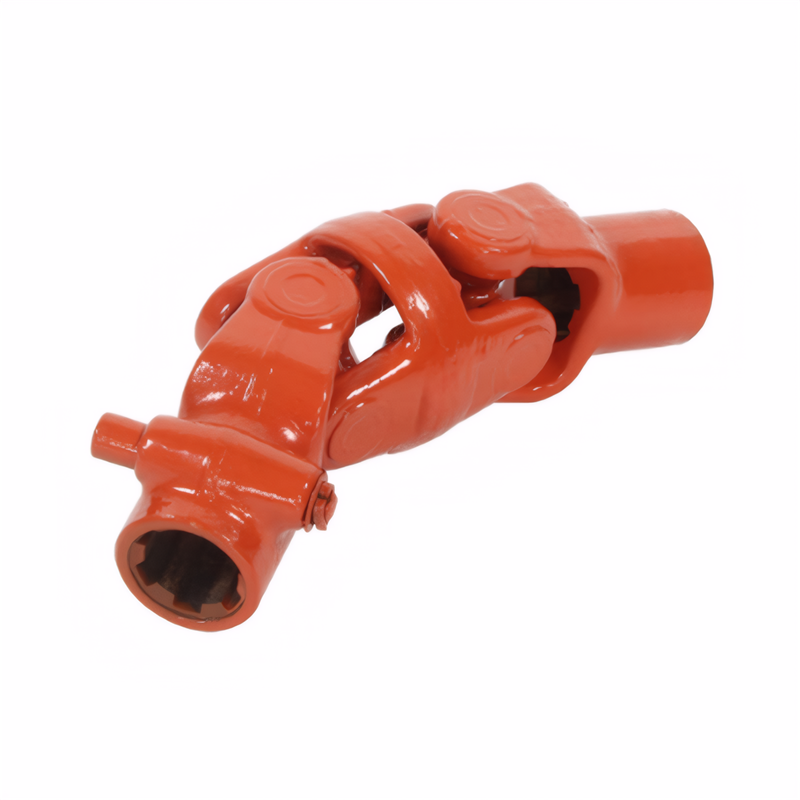
Replacement of the fork-shaped joint of the drive shaft
Replacing the Cross-Shaped Joint of a Transmission Shaft
The cross-shaped joint, also known as a universal joint, is a vital part of a transmission shaft. It allows for the transfer of power while accommodating angular misalignment between the shaft and the connected components. Over time, due to wear, tear, or excessive stress, this joint may need replacement. Here's a detailed guide on how to replace the cross-shaped joint of a transmission shaft.
Preparation for Replacement
Before starting the replacement process, proper preparation is essential to ensure a smooth and safe operation.
Gather Necessary Tools
Collect all the tools you'll need for the job. This typically includes wrenches of various sizes, a socket set, a hammer, a pry bar, and a torque wrench. Additionally, have a container ready to collect any spilled fluids and rags for cleaning purposes.
Secure the Vehicle
Park the vehicle on a level surface and engage the parking brake. Place wheel chocks around the wheels to prevent the vehicle from rolling during the replacement process. If working on a raised vehicle, use appropriate jack stands to support it securely.
Access the Transmission Shaft
Locate the transmission shaft and the cross-shaped joint that needs replacement. Depending on the vehicle's design, you may need to remove other components, such as heat shields, exhaust pipes, or drive shaft covers, to gain access to the joint. Use the appropriate tools to carefully remove these components without causing damage.
Removing the Old Cross-Shaped Joint
Once you have proper access, follow these steps to remove the old cross-shaped joint:
Loosen and Remove Fasteners
Identify the bolts or nuts that secure the cross-shaped joint to the transmission shaft and the adjacent component (usually the differential or another shaft). Use the appropriate wrenches or sockets to loosen and remove these fasteners. In some cases, you may need to apply penetrating oil to help loosen rusted or stuck bolts.
Separate the Joint from the Shaft
After removing the fasteners, gently pry the cross-shaped joint away from the transmission shaft. You can use a pry bar or a hammer and a block of wood to avoid damaging the shaft or the joint. Be patient and apply even pressure to prevent any sudden movements that could cause injury or further damage.
Inspect the Shaft and Surrounding Components
While the joint is removed, take the opportunity to inspect the transmission shaft and the adjacent components for any signs of wear, damage, or corrosion. Check for any play in the shaft bearings or any misalignment issues. If you notice any significant problems, address them before installing the new joint.
Installing the New Cross-Shaped Joint
With the old joint removed, it's time to install the new one:
Prepare the New Joint
Before installation, inspect the new cross-shaped joint for any defects or damage. Ensure that it matches the specifications of the old joint in terms of size, shape, and material. If the joint comes with any grease fittings, make sure they are clean and ready for lubrication.
Align and Position the Joint
Carefully align the new cross-shaped joint with the transmission shaft and the adjacent component. Ensure that the bolt holes or mounting points are properly aligned. Gently slide the joint into place, making sure it fits snugly without any gaps or misalignment.
Tighten the Fasteners
Once the joint is in position, reinstall the bolts or nuts that secure it to the shaft and the adjacent component. Use a torque wrench to tighten the fasteners to the manufacturer's specified torque settings. This is crucial to ensure a secure and proper connection that can withstand the stresses of operation.
Lubricate the Joint
After installing the new joint, apply a suitable lubricant to the grease fittings (if applicable) or to the moving parts of the joint. This helps reduce friction and wear, extending the life of the joint. Follow the manufacturer's recommendations for the type and frequency of lubrication.
Final Checks and Testing
After completing the installation, perform some final checks and testing to ensure everything is working correctly:
Reinstall Removed Components
If you had to remove any other components to access the cross-shaped joint, such as heat shields or exhaust pipes, reinstall them carefully. Make sure they are properly secured and aligned to avoid any interference with the operation of the transmission shaft or the new joint.
Check for Leaks and Clearances
Inspect the area around the new joint for any signs of fluid leaks, especially if the transmission shaft is part of a system that uses lubricants or hydraulic fluids. Also, check for proper clearances between the joint and other components to prevent any rubbing or contact that could cause damage over time.
Test Drive the Vehicle
Take the vehicle for a short test drive to ensure that the new cross-shaped joint is functioning properly. Listen for any unusual noises, such as clunking, grinding, or vibrations, which could indicate a problem with the installation or the joint itself. If you notice any issues, stop the vehicle immediately and reinspect the joint and the surrounding components.
 Method for detecting the stabi
 Reliability testing standard f
 Certification of environmental
 Transmission shaft safety perf
 简体中文
简体中文 English
